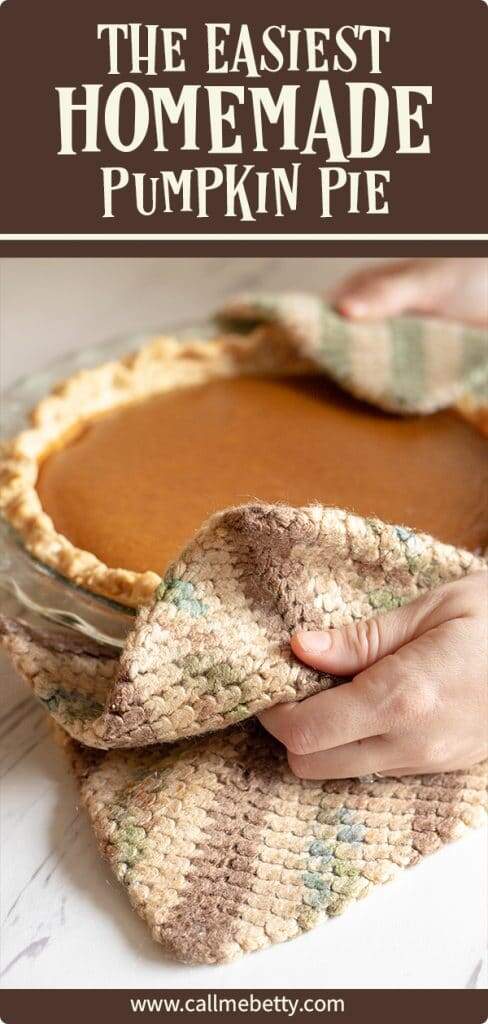
The easiest homemade pumpkin pie
Homemade pumpkin pie is the easiest pie for a beginner to make, the filling comes together in approximately 2 minutes. The crust is a bit more time-consuming, but this butter and shortening pie crust comes together quickly and easily and can even be rolled out immediately without refrigeration.
The Easiest Homemade Pumpkin Pie
Homemade pumpkin pie might just be the easiest pie to make from scratch there is. It’s so hard to mess it up. I know ya’ll think those costco pumpkin pies are just too easy to pass up, but you can totally do homemade pumpkin pie, and it will be even more delicious with tender, flaky homemade pie crust and creamy pumpkin-y filling.
What kind of pie crust is best for homemade pumpkin pie?
I made a truly astonishing discovery this year. I try to use the real-est ingredients in my cooking, so naturally since I began baking I’ve been using an all-butter pie crust. It’s delicious. However, it’s not foolproof (at least not for me). I read just about every pie crust post on the internet and tried so many tips and tricks. Food processor, sour cream in the crust, etc…but no matter what I did I had a hard time rolling out my all-butter crust and when I baked it it would shrink and get ugly on me. It still tasted amazing…but I really wanted beautiful homemade pies.
Enter…shortening.
After having my third child this year I started feeling a little rebellious. We started eating more frozen meals and I decided to heck with it, I’m trying shortening in my pie crust. The result?
The butter and shortening pie crust for this homemade pumpkin pie was far easier to work with and roll out than my previous recipe, it was flaky, tendery, and full of buttery flavor AND it held it’s shape.
You could say I’m converted. And due to the fact that trans fats are now officially illegal in the US I can feel a tiny bit better about my shortening pie crust. Besides, no one’s eating pie for the health benefits right? Butter and shortening crust for life!
How to make a butter and shortening crust for homemade pumpkin pie
There are a few keys to making a delicious pie crust for homemade pumpkin pie. The first rule of pie crust is everything should be as cold as possible. Refrigerated shortening, frozen butter, ice water. You get the drill. I like to use a box grater and grate the butter in, it’s super easy to distribute the butter evenly that way. You’ll also want to freeze the pie crust for a while before baking to help it keep its shape.

Should I blind-bake the crust for homemade pumpkin pie?
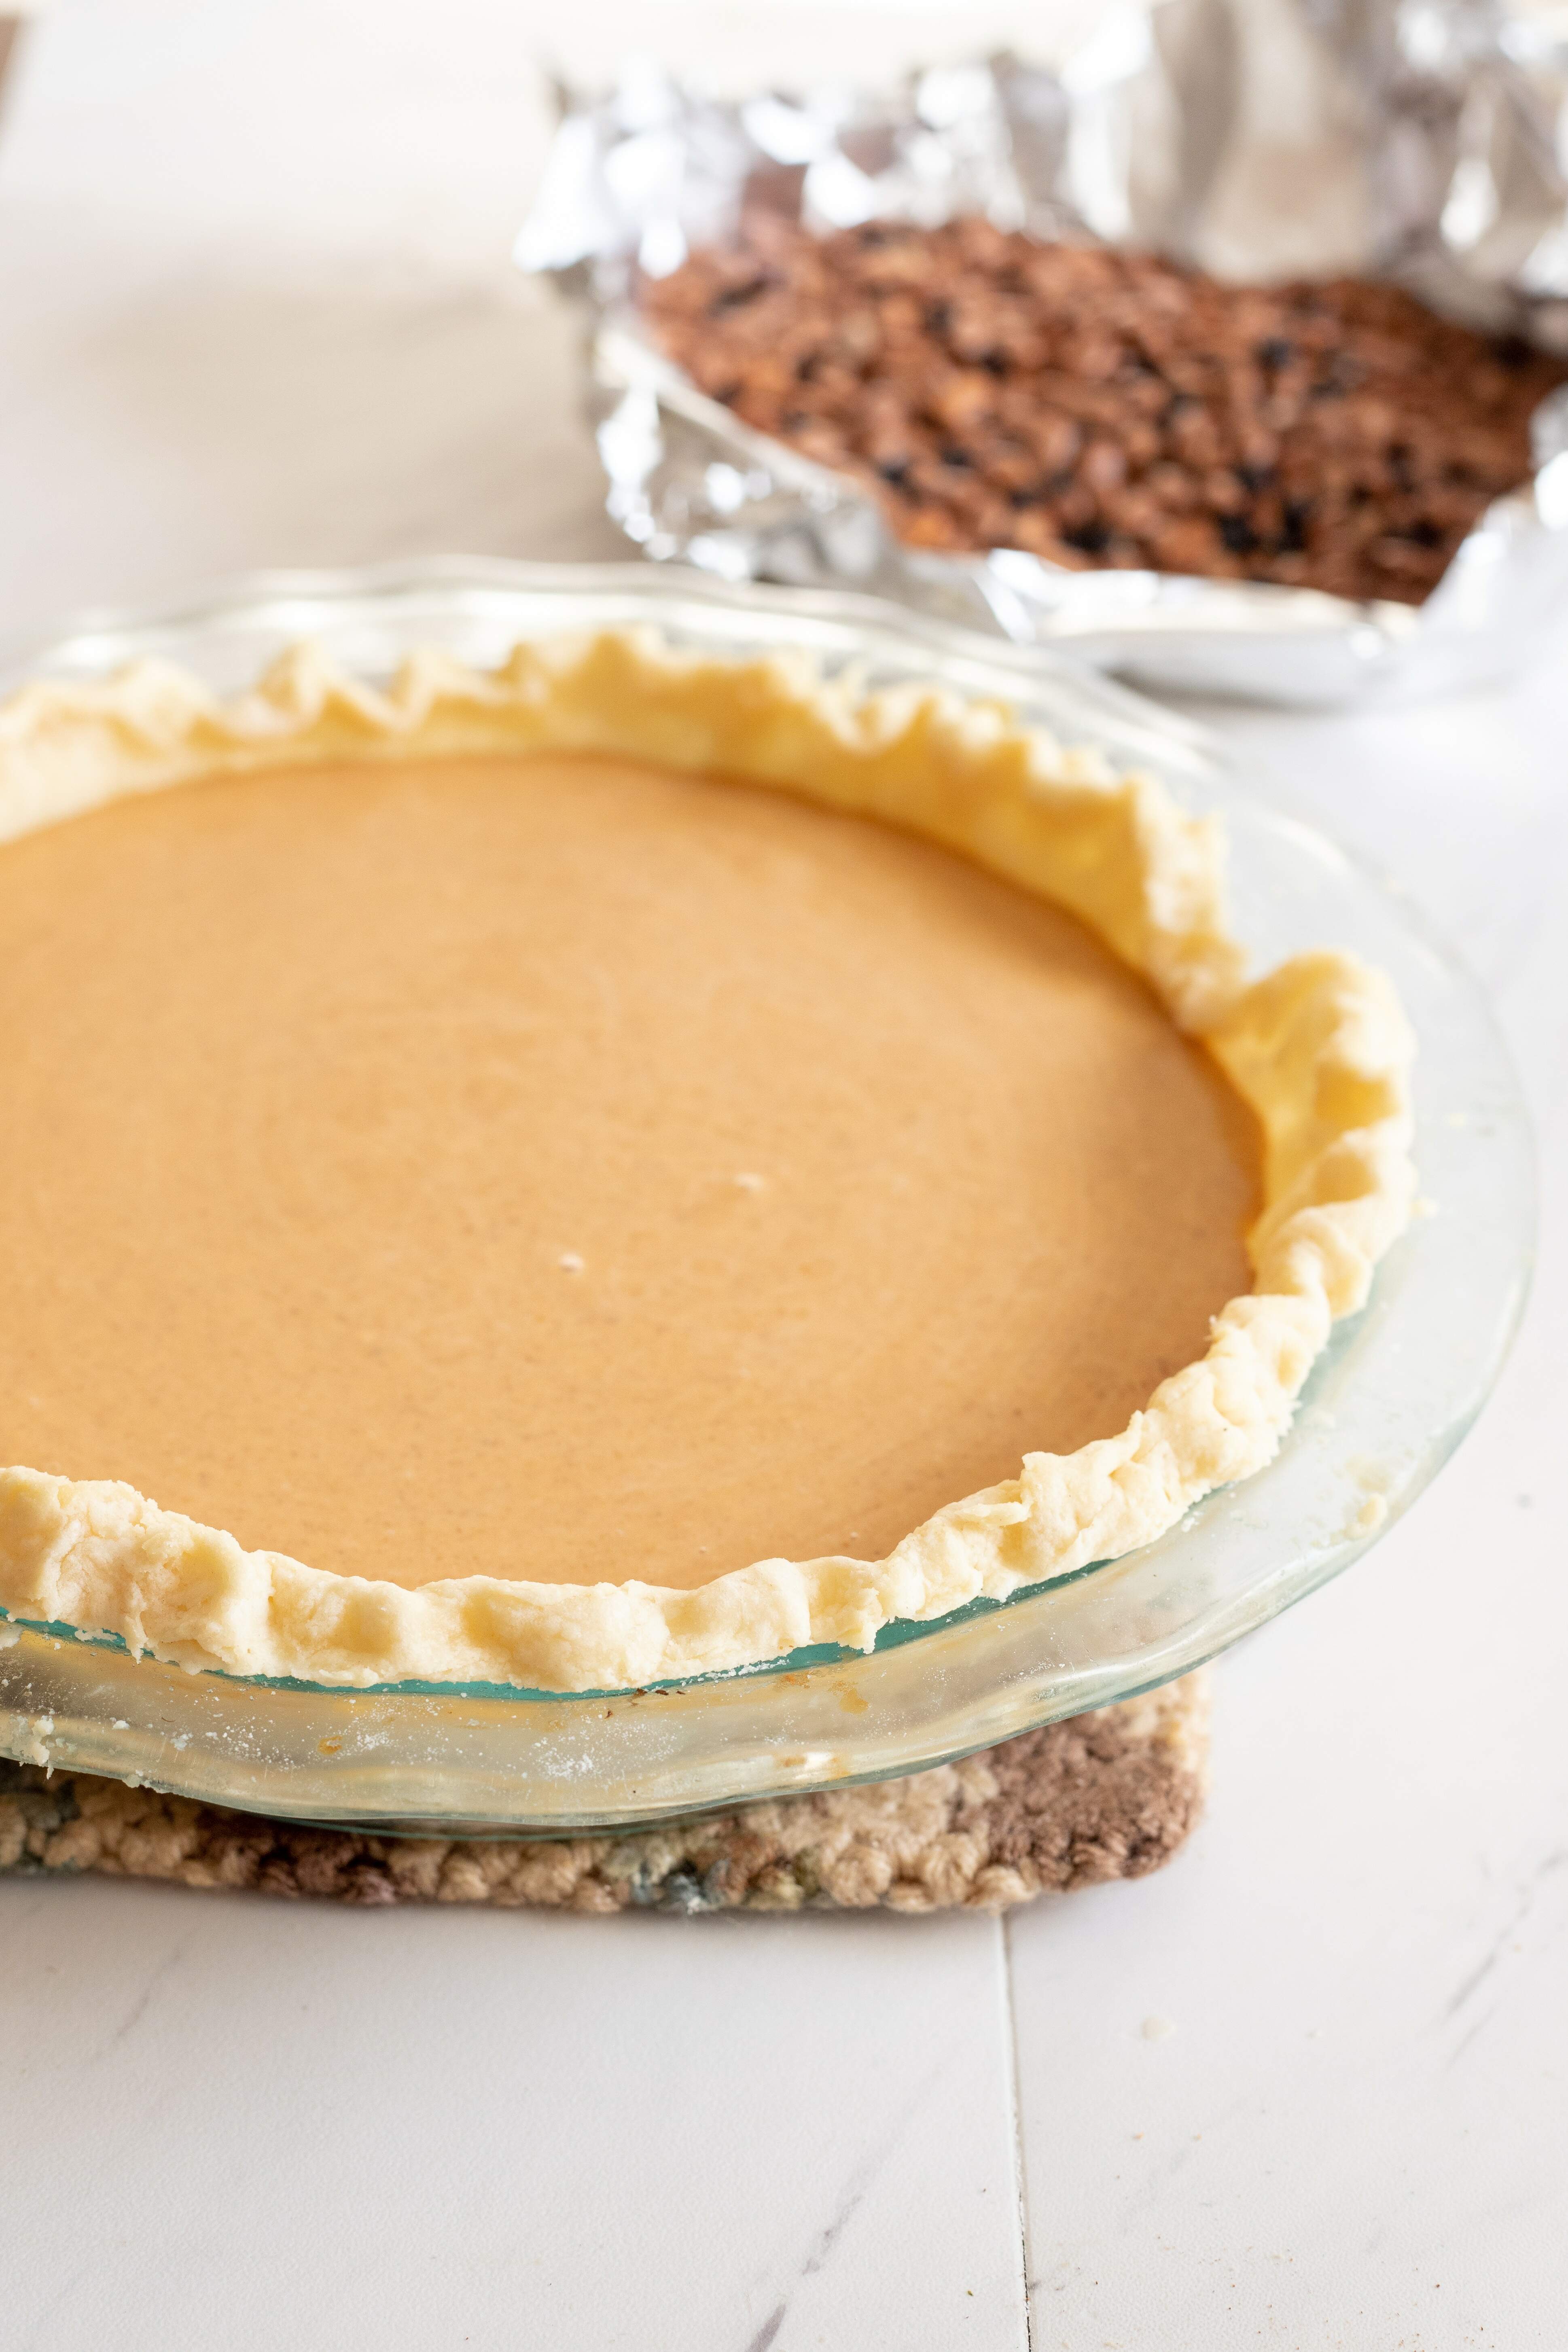
Absolutely yes. In fact, I almost always like to blind bake, but it’s especially important when making a custard pie like homemade pumpkin pie. If you don’t blind bake, the crust you worked so hard on will be a gummy, yucky mess. It’s an extra step that takes a bit of time, but it’s super easy so don’t stress.
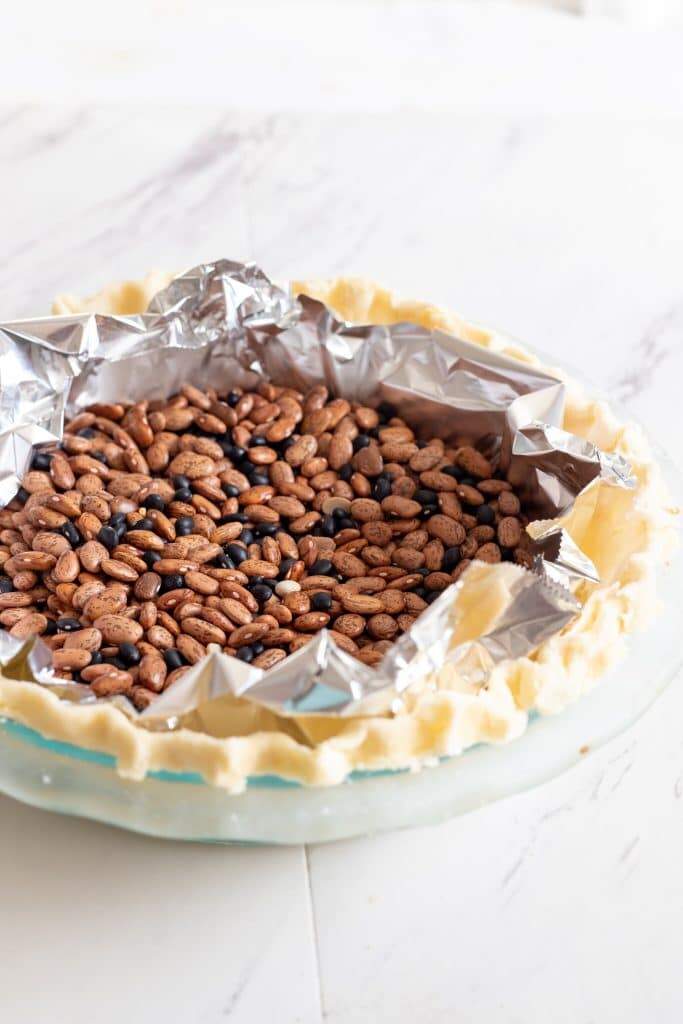
I don’t have any fancy pie weights or anything, I simply poke a few holes in the crust on the bottom and fill the pie crust with tin foil and dry beans so it doesn’t puff up while baked. Easy peasy.
How to make homemade pumpkin pie filling
Remember how I said pumpkin pie is the easiest thing ever? I wasn’t lying. All you do is mix up the 7 ingredients until smooth and dump them into your blind-baked crust. That’s it. Many homemade pumpkin pie recipes call for evaporated milk or sweetened condensed milk. I can’t attest to how they taste, but my recipe uses heavy cream simply because it’s in my fridge always. Is that normal? I digress. 7 ingredients and you probably have everything laying around but the pumpkin. So no excuses for the store bought pumpkin pie. You’ve got this. You can also add other spices if that’s your thing. Nutmeg freaks me out so this homemade pumpkin pie is cinnamon only.

When can I cut my homemade pumpkin pie?
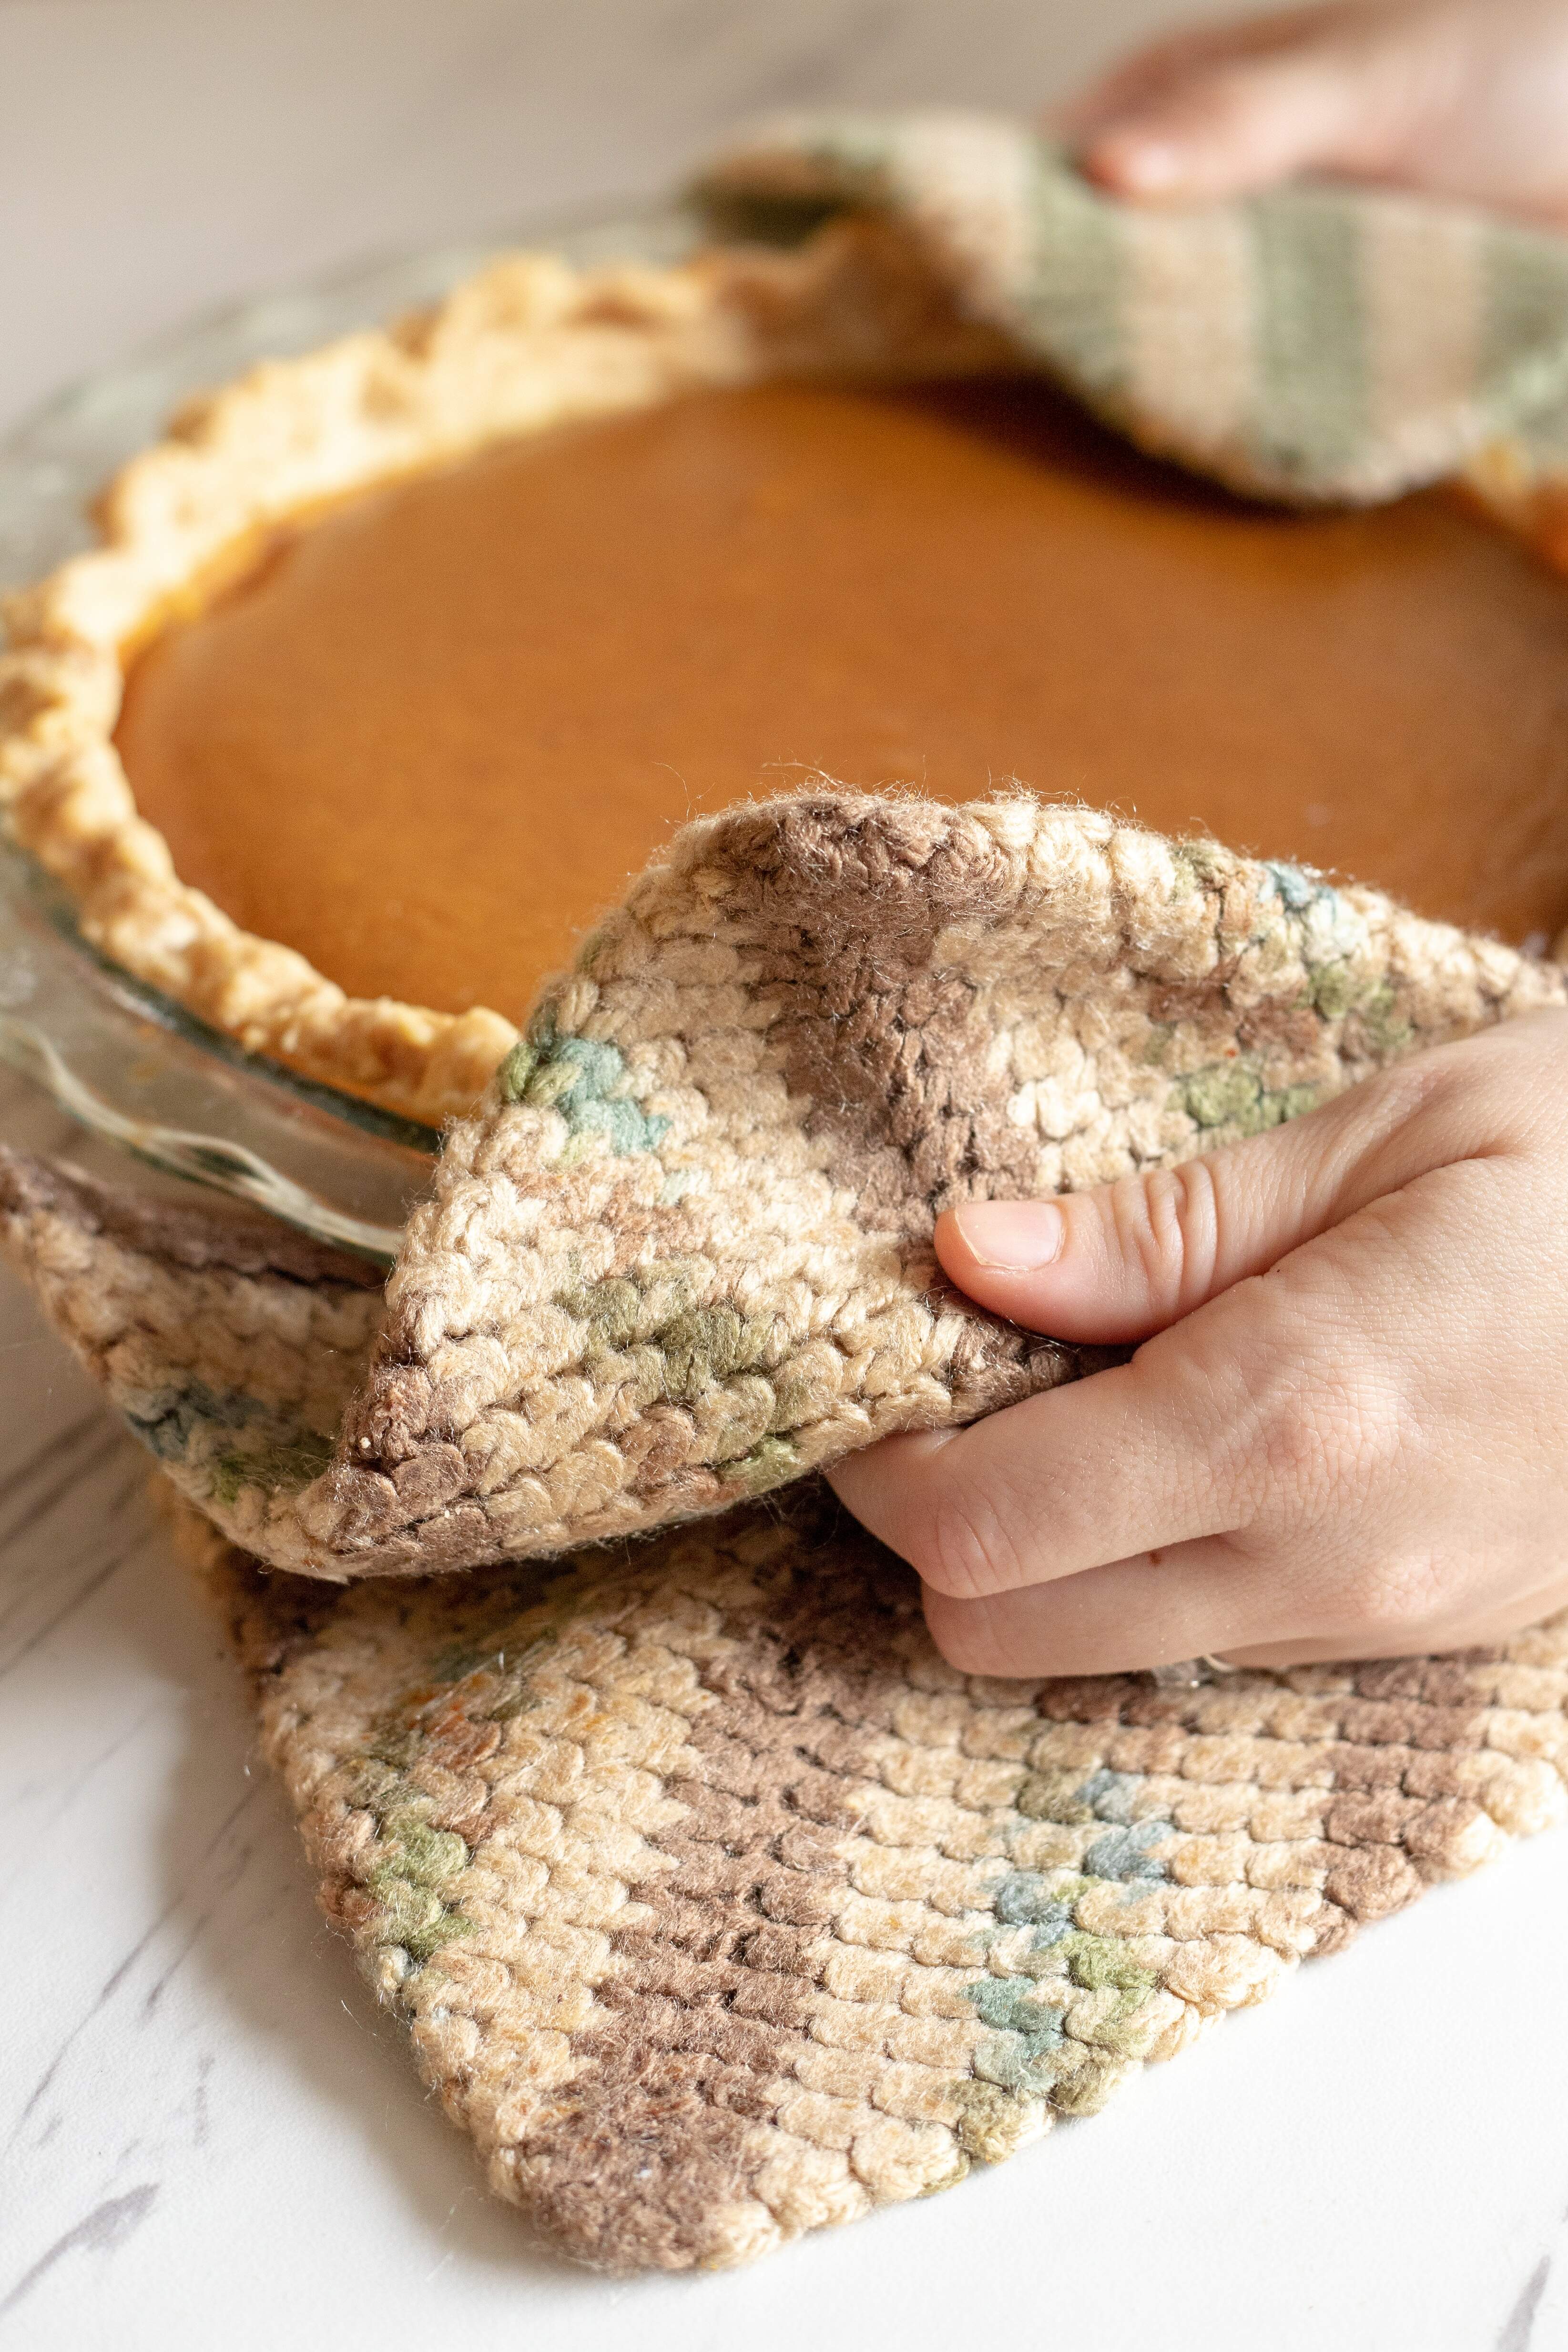
Because homemade pumpkin pie is a custard pie it needs to set before you can dig into it (I know, it’s so hard to do). You’ll remove your pie from the oven after about an hour and the middle will still be a bit jiggly. I actually like to refrigerate my homemade pumpkin pie (it tastes so yummy cold) but you can also leave it at room temperature. You will need to leave it for at least two hours (I usually leave it overnight) before cutting to make sure it holds its shape.
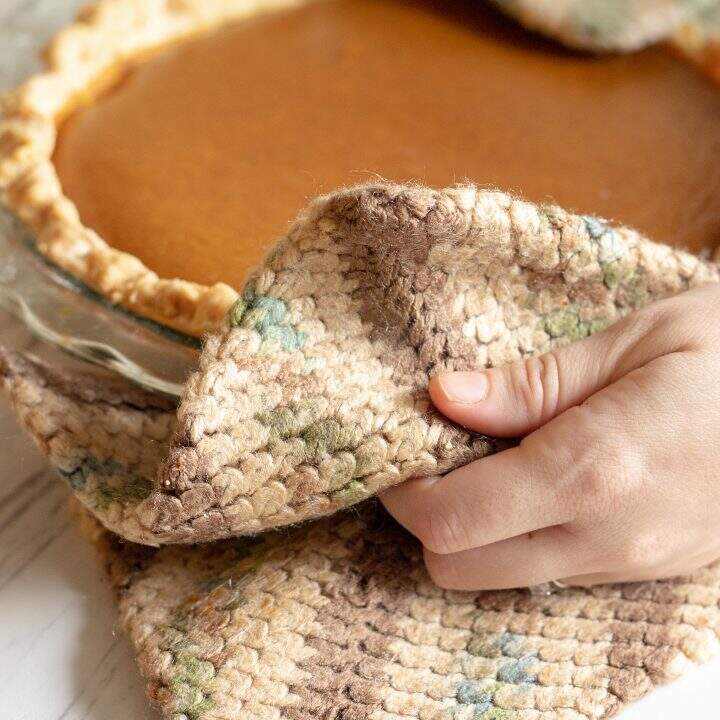
After all that waiting it’s time to dig into your homemade pumpkin pie, so grab a dollop or 12 of whipped cream and dig in.
Are you looking for more Thanksgiving recipes? This make-ahead stuffing recipe is getting lots of attention on Pinterest right about now.
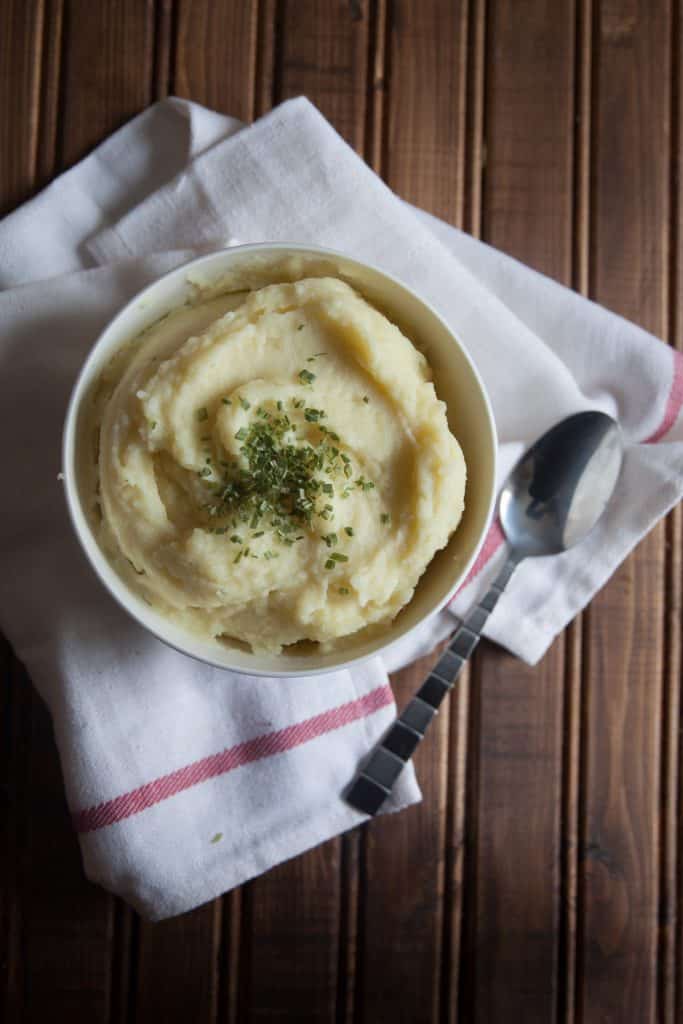
Also consider trying the creamiest mashed potatoes in the history of ever.
Homemade Pumpkin Pie
Homemade pumpkin pie is the perfect pie for a pie novice, the filling comes together in approximately 2 minutes giving you plenty of time to master the crust. This butter and shortening pie crust also can be rolled out immediately saving time on chilling for a quick and easy homemade pumpkin pie.
Ingredients
Pie Crust
- 1 1/4 C All-Purpose Flour
- 1/4 C Butter, frozen
- 1/4 C Shortening, Cold
- 3-4 tbsp Ice Water
- 1/4 tsp Salt
Pie Filling
- 15 oz Canned pumpkin
- 1 1/4 C Heavy cream
- 2/3 C Sugar
- 2 Eggs
- 2 tsp Cinnamon
- 1 tsp Vanilla
- 1/2 tsp salt
Instructions
For the pie crust
- Add all purpose flour to a medium mixing bowl. Grate frozen butter with a box grater into flour. Cut shortening into 1/2 inch cubes and add to flour. Add salt.

- Use your hands to quickly cut butter and shortening, lumps should be approximately pea sized.
- Add ice water 1 tbsp at a time and mix with a wooden spoon just until crust comes together. You will use a different amount every time.
- Form pie dough into a flat round disc. On a well floured surface roll out until it is 2 inches bigger than your pie crust.
- Use a pastry cutter to loosen pie crust from work surface. Fold into quarters and add to pie dish. Trim the edges all the way around the pie dish.
- Fold the edge over about 1/2 inch so the edges of the crust are thicker than the center. Flute the edges using your thumb and forefinger of your right hand and your thumb of your left hand.
- Freeze pie crust for approximately 30 minutes before baking.
- Preheat oven to 350 degrees Fahrenheit. Poke holes in the bottom of your pie crust with a fork. Then fill with tin foil and dried beans to blind bake. Blind bake pie crust for 20 minutes.


For pie filling
- Mix all ingredients in a medium mixing bowl until well mixed
- Add to blindbaked pie crust and bake at 350 degrees Fahrenheit until the edges are set, the middle will still jiggle a little bit.

- Remove from oven and let cool to room temperature (at least 2 hours) before slicing. Serve with whipped cream if desired.
Notes
Calories calculated using MyFitnessPal
Nutrition Information:
Yield: 8Amount Per Serving: Calories: 431