White Chocolate Cherry Shortbread Cookies
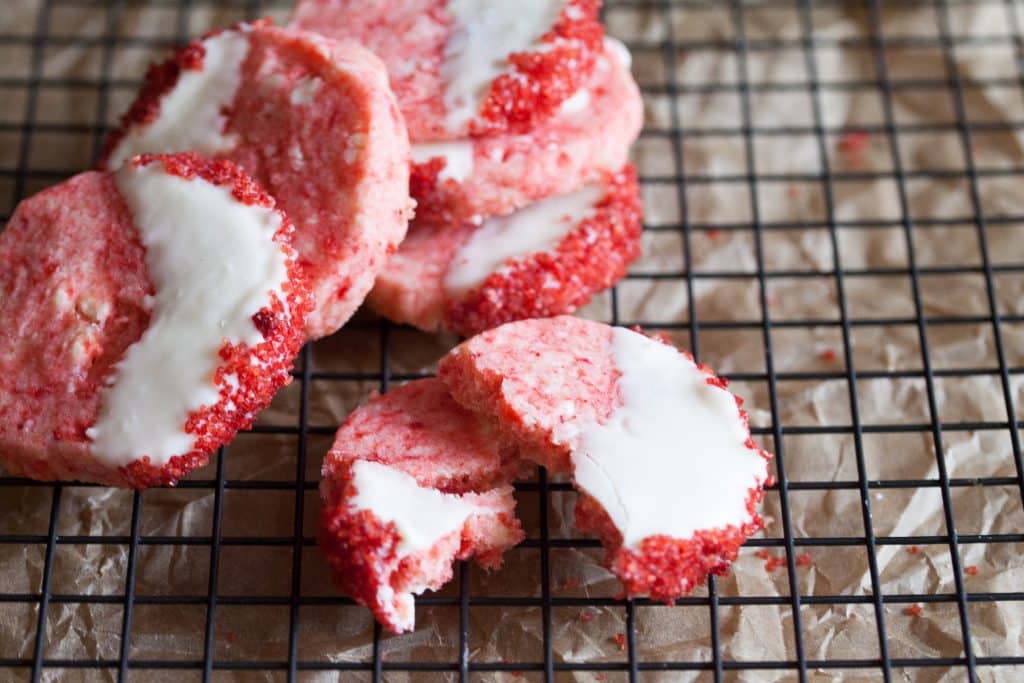
These cute little white chocolate cherry shortbread cookies are as tasty as they are adorable. Don’t skimp out on the sprinkles and white chocolate dipping, yes it’s an extra step, but it makes them extra delicious. These are the perfect treat to take to your neighbors or your next holiday party.

These adorable white chocolate cherry shortbread cookies are one of my favorite treats to make around the holidays. Discovering their goodness was truly an accident. A few years ago I decided to give out Christmas cookies as my holiday gift for friends and neighbors. After making lots of chocolatey treats, I realized that I needed some color. I wasn’t sure how tasty these cookies would be, but decided to give them a try because they are so lovely. They certainly did not disappoint. I love the way shortbread just melts in your mouth, and the unexpected cherry and chocolate addition takes the tastiness up a notch. Oh, and my non-sweet loving mom couldn’t get enough of them, so that’s got to count for something too, right?
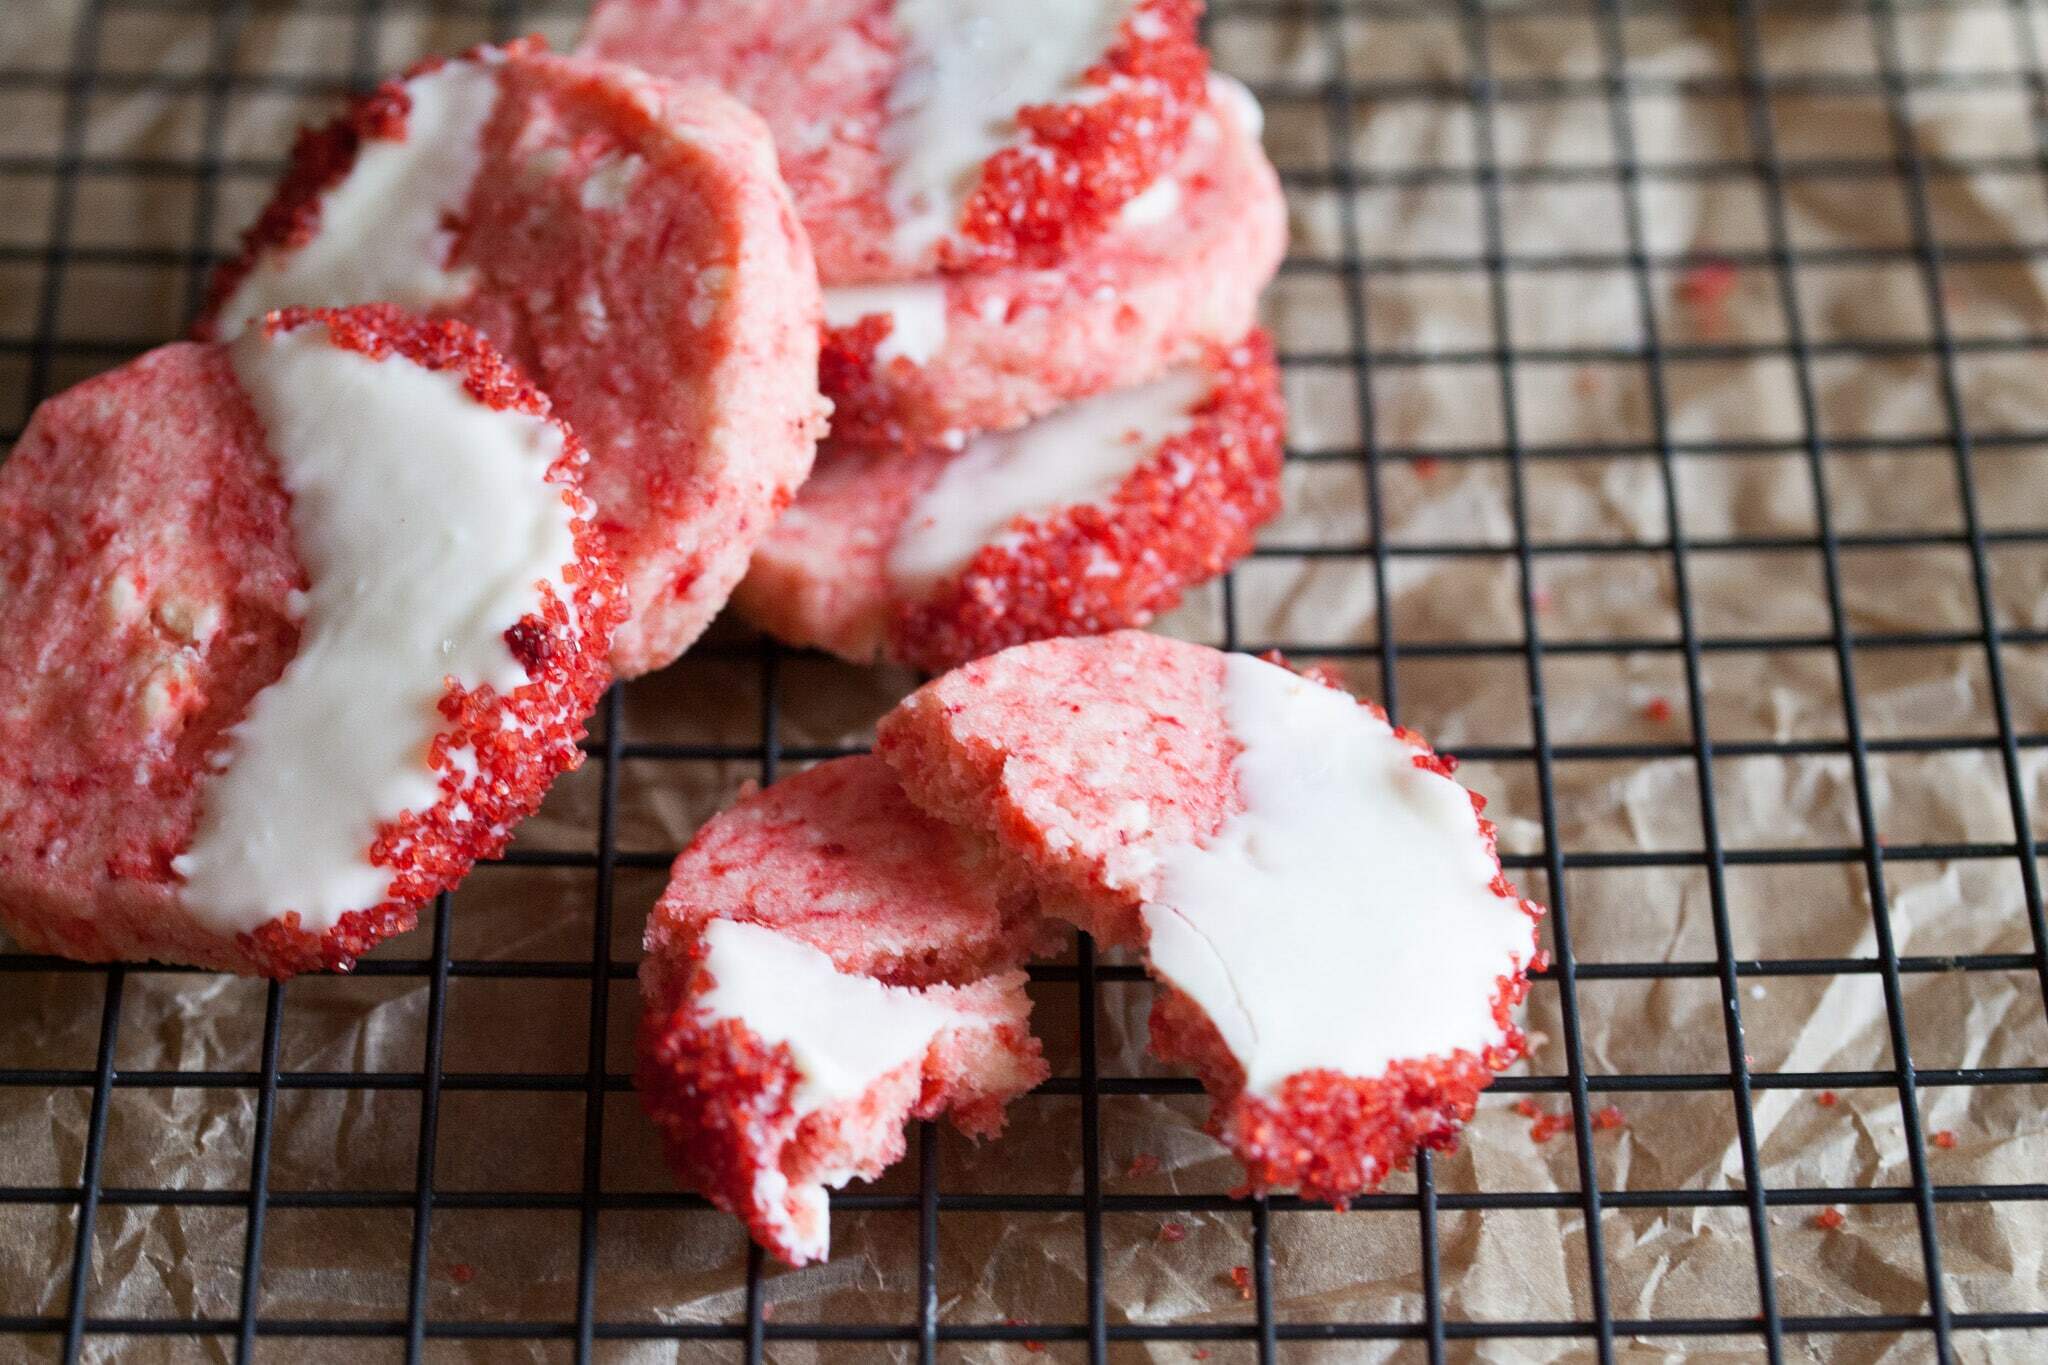
White Chocolate Cherry Shortbread Cookies
This post contains affiliate links, meaning that if you make a purchase from one of these links a small percentage comes back to me at no additional cost to you. Learn more by visiting my disclosure page.
Tools and Equipment Suggested/Needed:
These white chocolate cherry shortbread cookies come together pretty quickly, but if you’ve never made shortbread before, you will notice that the method varies quite a bit from that of traditional cookies, so there are a few things to be aware of.
Cutting in the Butter
The method for making these cookies is more similar to making pie crust or biscuits than it is to traditional cookies. You have to cut the butter into the flour and sugar rather than melting or creaming it. Lots of people are scared of this, but it really isn’t bad, and you really don’t need any fancy equipment like a pastry cutter. In fact, I prefer to use my hands because then I can really feel what’s going on and find my products turn out better.
My favorite way to cut in cold butter comes from a tip I learned from the kitchn. They suggest using a box grater to grate the cold butter. This method can also be used to get butter softened quickly so that you can cream it for cakes and cookies. I use it all the time. Anyway, for this recipe I simply grate the two sticks of butter directly into the flour and sugar mixture. For a shortbread, you are looking for coarse crumbs, so you will need to smoosh the butter even smaller. After I have grated the butter, I smoosh it with my fingers a little more until the mixture resembles coarse crumbs. Easy Peasy.
Kneading the Dough
You’ll notice that this recipe has very little liquid, and you might be thinking that I’m crazy and it will never turn out. Hear me out for a second. It will all work out. When you add the few liquid ingredients (the cherries, almond extract, and food coloring) the dough will start out very dry. At this point, slowly knead and squoosh the dough together and slowly it should start to come together into a ball. When all the little crumbs are incorporated into the dough, it’s ready.
Homemade Decorating Sugar
One thing I always do when I am making cookies is to make my own decorating sugar, rather than buying the little bottles. There are a few reason for this. Number one is that I hate clutter, and having a zillion bottles of decorating sugars equals clutter. Another is that each of those tiny bottles of sugar is about $2.00. I guess that’s not terrible, but I am indecisive. I need literally EVERY color, and that adds up. Also, homemade decorating sugar is coarser and actually tastes pretty darn’d good.
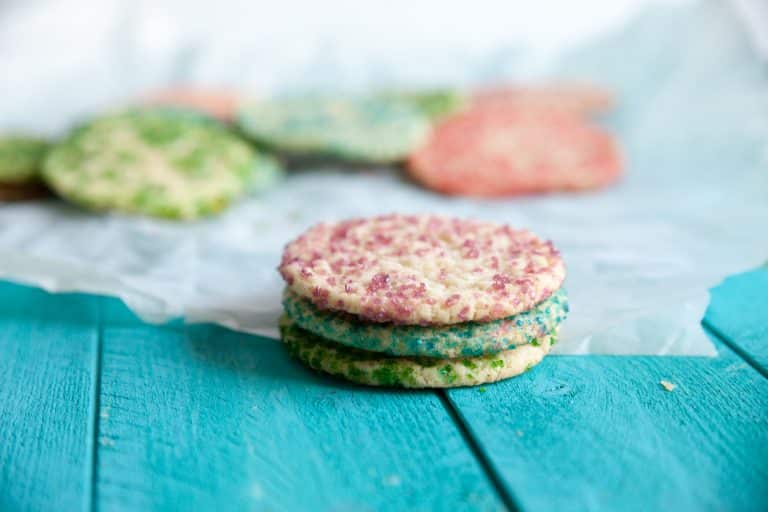
Anyway, to make your own decorating sugar all you do is add food coloring to some kind of coarse sugar. You can also use regular cane sugar, but I really prefer the texture if you use a nice coarse sugar. It also makes the final product look prettier because it “sparkles” a bit more. I usually use turbinado sugar (or sugar in the raw), but any coarse sugar will do. Simply add the food coloring to the sugar and mix until the color is even. At this point, the decorating sugar will be a bit wet. This is totally fine and won’t affect the finished product, but it can be harder to decorate with, especially if you are wanting to sprinkle it. To dry it out, spread it out over a plate to dry for a few minutes before using it.
One more note on this, my very favorite food coloring is Americolor Gel Food coloring. I have this kit and I use it all the time. It’s a little pricey, but will last a long time so it’s totally worth it to me. I can also buy individual colors to replace the ones I use the most. I love that this kit comes with a great red and a great black, as those colors can be harder to achieve. I also love that because they are gel, they don’t affect the texture of the product as much and I don’t have to worry about adding too much and ruining whatever I’m making. I used the super red to achieve the great color on those sprinkles.
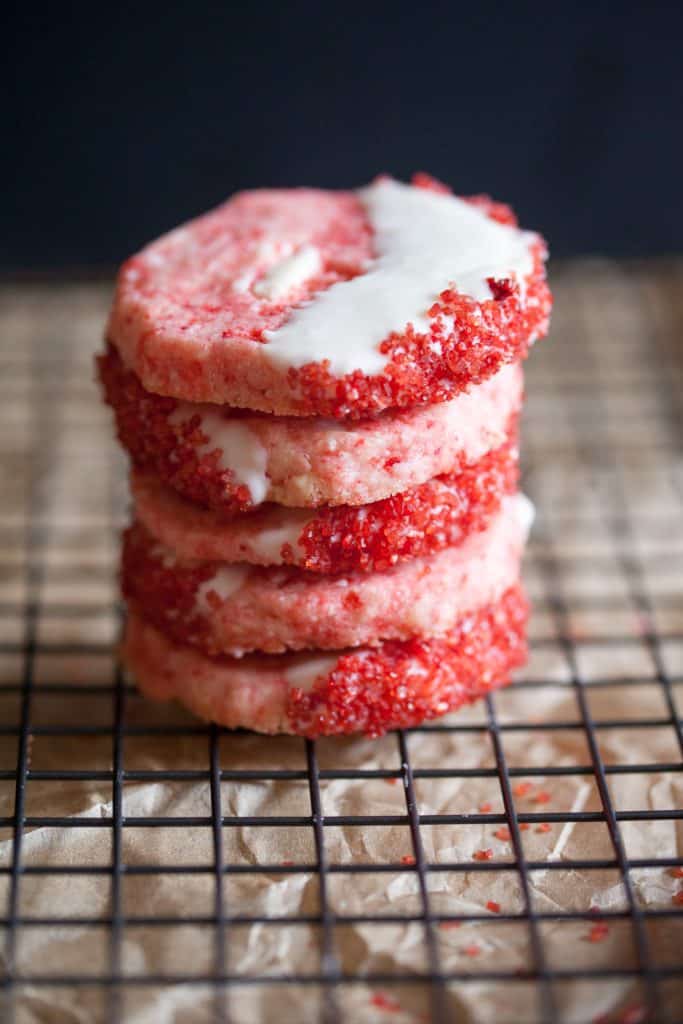
I hope that I’ve inspired you to try a twist on traditional shortbread with these perfectly dainty white chocolate cherry shortbread cookies. They are super tasty and you won’t be sorry!
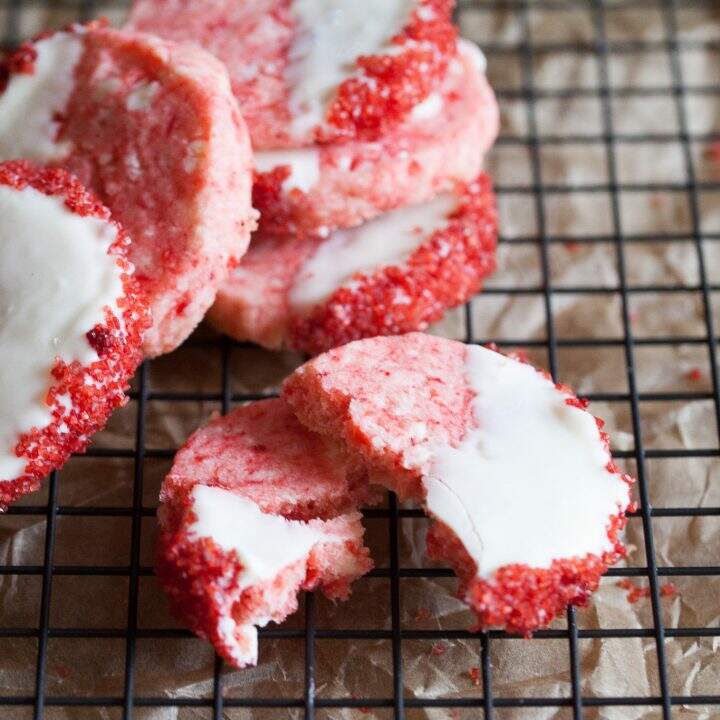
White Chocolate Cherry Shortbread Cookies
These cherry shortbread cookies are as delicious as they are beautiful, they are perfect for the holiday season with their vibrant red color. Adapted from Better homes and Gardens
Ingredients
- 1/2 cup maraschino cherries, drained
- 2 1/2 cups all-purpose flour
- 1/2 cup sugar
- 1 cup cold butter
- 12 ounces white chocolate baking squares, melting chocolate, or Ghiradelli white chocolate melting wafers
- 1/2 teaspoon almond extract
- Red Food Coloring, I like americolor gel food coloring
- 1/2 C Coarse Sugar, I use turbinado sugar
Instructions
- Preheat oven to 325 degrees Fahrenheit.
- Chop cherries finely in a food processor. Let drain in a fine mesh strainer while you prepare the rest of your ingredients.
- Mix flour and sugar in a large bowl. Grate cold butter into bowl using a box grater. When all of the butter is added use your fingers to squish the butter into the flour until the mixture resembles coarse crumbs.
- Coarsely chop 4 ounces of whatever white chocolate you have chosen to use. I personally like and use Ghiradelli white chocolate melting wafers and simply whizzed them in the food processor for a few seconds.
- Add cherries, almond extract, ~ two drops red food coloring and the chopped white chocolate to the flour mixture. The mixture will seem VERY dry. You might be questioning my sanity at this point. Knead the mixture with your hands and it will slowly start to come together into a stiff dough.
- Once all of the dough is incorporated, split the dough in half and roll each half out into a log 2 1/2 inches in diameter. Cover logs and refrigerate them for about 15 minutes.
- While the cookies are resting in the refrigerator, you can make your decorating sugar. Add 1/2 C coarse sugar and 1-2 drops of food coloring to a bowl big enough to mix in. Mix the sugar with a fork until the color is even. Set aside to dry a bit before using.
- Now, remove your cookie logs from the refrigerator and carefully cut each log into 12 pieces (they should be approximately 1/2 inch thick). If they get a little misshappen gently squoosh them back into a perfect circle. Place on an ungreased cookie sheet.
- Bake for 10-12 minutes until set. It can be a little tricky to tell when they are done because the color doesn't change much, for me it took the full 12 minutes.
- Let cookies cool on the pan for 1-2 minutes until they've cooled enough to remove them to a wire rack to cool. Once the cookies are cool enough to handle (~15 minutethey are ready to decorate.
- Melt the remaining 8 oz white chocolate in a glass bowl in the microwave at 50% power stirring every 30 seconds. To decorate the cookies the way I did, dip them in the white chocolate about halfway up the cookie, and then roll the edge in the coarse sugar. Set on parchment paper to dry. If the white chocolate starts to harden, simply microwave it for 30 seconds again at 50% power.
- Once the chocolate has set, you are ready to eat and enjoy those tasty cookies!
- Notes
- There are lots of cute ways you could decorate these cookies, you could try spreading the white chocolate over the entire cookie and sprinkling with the decorating sugar, or putting the white chocolate in a decorating bag and drizzling it. Get creative!
Notes
There are lots of cute ways you could decorate these cookies, you could try spreading the white chocolate over the entire cookie and sprinkling with the decorating sugar, or putting the white chocolate in a decorating bag and drizzling it. Get creative!





Hi Amanda! These little cookies are just adorable! The colors are so festive and I just love cherries! I agree with what you said on your About page, the greatest compliment is “you MADE that!” That just makes me beam from ear to ear! So glad I found your site. Thanks for the lovely recipe and beautiful pictures 🙂
Thanks for your comment Kelly, I just stopped into your site as well and your photos and recipes look lovely as well!