
4 steps to parbaking bread perfectly (with recipe!)
Parbaking is an underutilized technique where you bake your bread until it’s just barely cooked and store it in the freezer. When it’s time to eat simply “brown and serve.” This technique makes the bread taste fresher and completely fresh-baked even though it’s coming from the freezer. Read on to find out how to parbake your bread
Homemade fresh bread is the ultimate comfort food, but it’s time consuming to get it on the table.
It’s fine to make on it’s own, but when you have a bunch of other dishes to make it’s challenging to juggle everything and make it happen.
It’s also difficult because many bread recipes take 2-3 hours to bake (some even longer) so if you work it’s basically impossible to get make homemade bread a part of a weeknight meal.
Enter par-baked bread.
When I worked in school food service we used to purchase the most delicious brown-and-serve crusty rolls that I would have sworn were baked fresh if I hadn’t opened the package myself. they were so good. Later I started to find brands in grocery stores like la brea bakery that offered parbaked crusty bread and artisanal breads.
It took me awhile, but eventually I started to wonder why I wasn’t using this “brown-and-serve” or parbaking technique at home.
I started experimenting with pulling rolls out of the oven a bit early and storing them in a plastic bag in the freezer, and I loved the results.
I decided to do a little bit of research on HOW to parbake goods properly, and found that there really is a lack of information out there about parbaking.
It’s an under-utilized technique which is why I really wanted to share it with you today (cause it’s AWESOME!!)
Parbaking for fresher-tasting bread
Like I said, there really isn’t a ton of information out there about parbaking, but I did find some pretty useful in an old textbook on baking.
There’s not a lot to the process of parbaking, but there are some techniques to keep your bread pale and avoid browning when you are baking the first time, and to help your bread keep it’s shape.
4 steps to parbaking bread (so you can have fresh bread whenever you want it!)
Reduce Your Oven Temperature
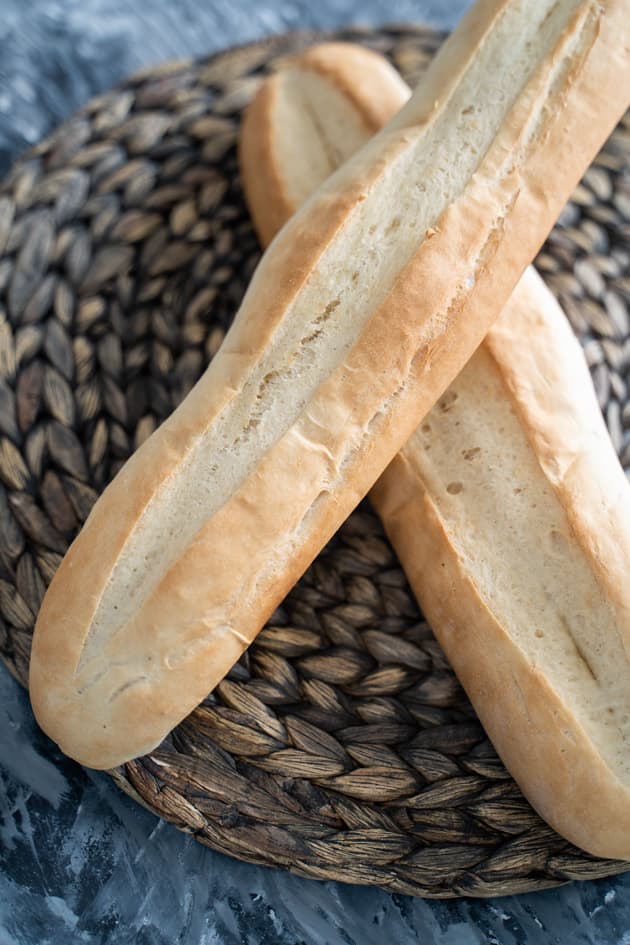
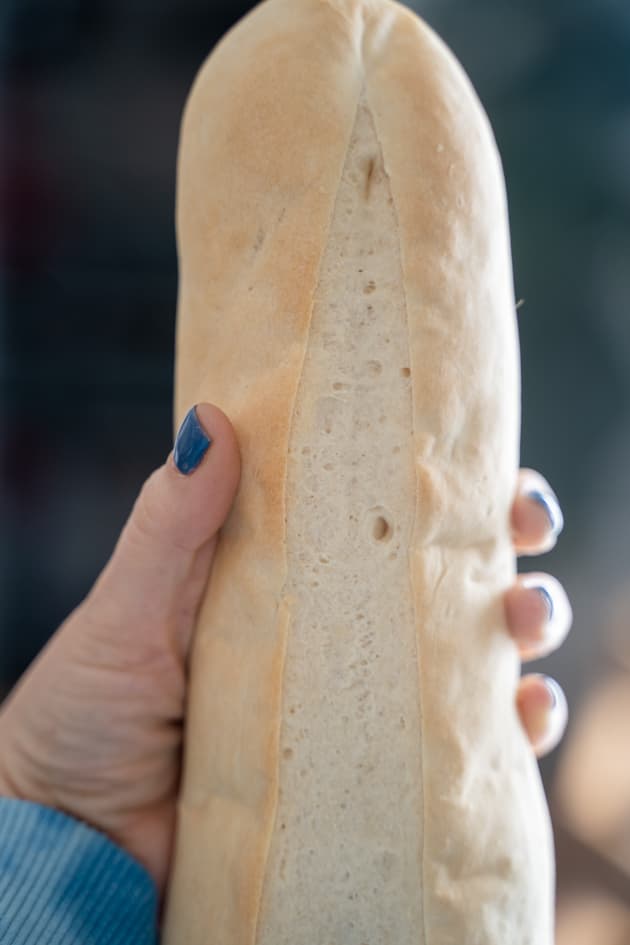
This is one of the most important steps when parbaking your bread because it helps you to achieve that pale almost unbaked look you are going for so you can save the browning step for when you are ready to eat your bread. To do this you will need lower temps in the oven. Try reducing the oven temperature to by 25-50 degrees Fahrenheit from what the recipe calls for to achieve this. This way you’ve done enough of the baking process that the bread won’t collapse, but you’ll also be able to brown it later. See the photo below for the level of paleness you are looking for.
Cook your bread until the internal temperature is 180 degrees Fahrenheit to ensure done-ness
You will likely have to adjust your cooking time to make up for the adjusted temperature. Start by baking for the recommended time on your recipe and take the breads internal temp and add time until it reaches 180 degrees Fahrenheit.
Decrease yeast and proof quickly
Too much yeast can cause bread to spring too much in the oven, which will make it more difficult for the rolls to hold their shape in the freezer. Try decreasing the yeast in your recipe just a little (not more than 25%) and proof in a very warm environment (try this method)
Increase flour slightly
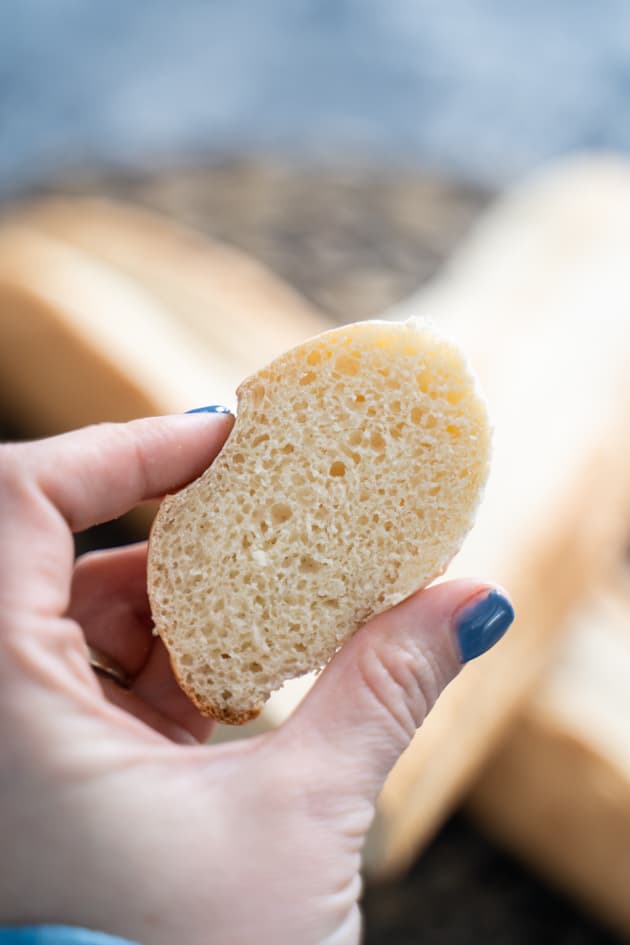
When parbaking bread, you want the dough to be just slighthly stiffer so the bread holds it’s shape well (this isn’t the best technique for those soft and fluffy rolls). Try increasing the flour by 8-10%. I have found that many bread recipes call for around 3 cups of flour. If your recipe calls for 3 cups of flour you will want to increase it by around 1/4 C. You want the dough to be soft and workable but not overly sticky.
What products can I parbake?
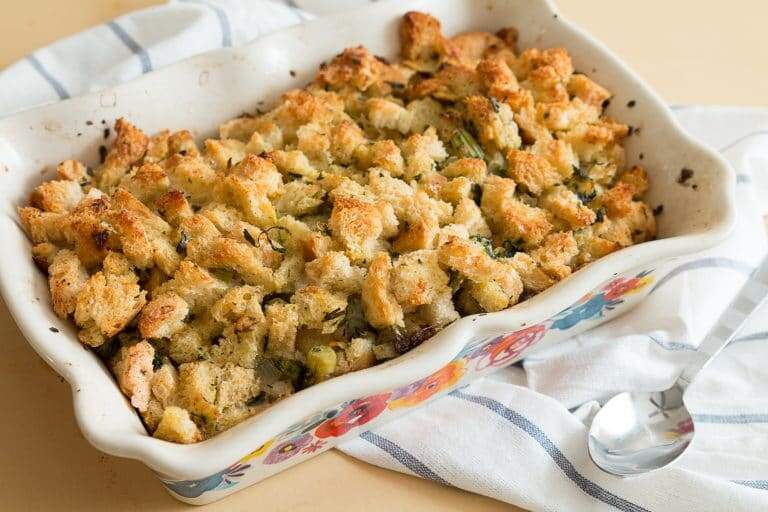
I use this technique on loads of baked goods, but my favorites are cinnamon rolls and dinner rolls (these crusty french bread rolls use this technique). Use for any type of bread to cut back on your baking time the day of.
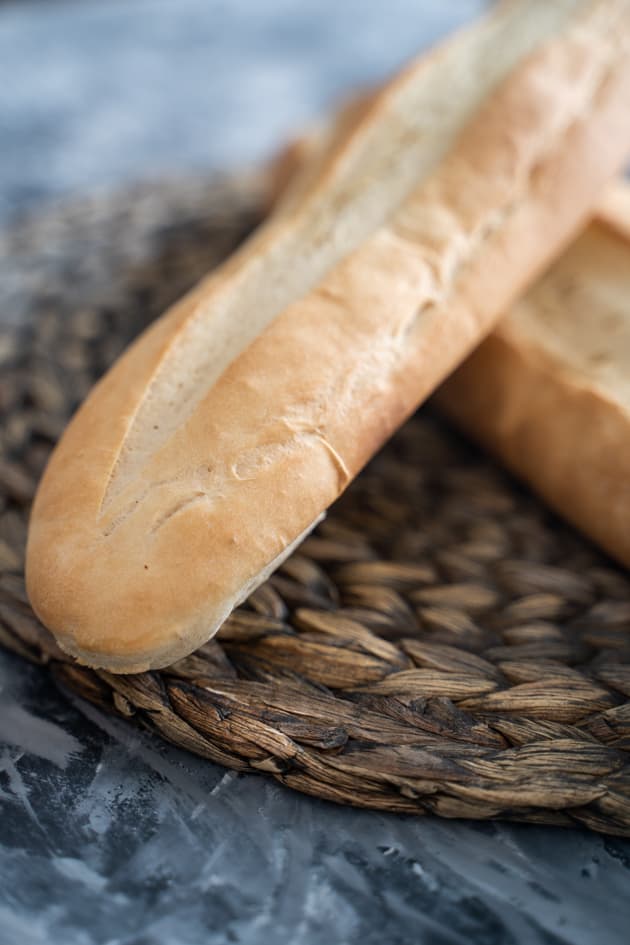
I decided to include a basic baguette recipe in this post just so you have a clear picture of how to use this technique, but you can use the 4 steps to adjust any homemade bread recipe you want to! This technique makes yeast breads less time-consuming and more do-able for a week night!
Check out the recipe below!
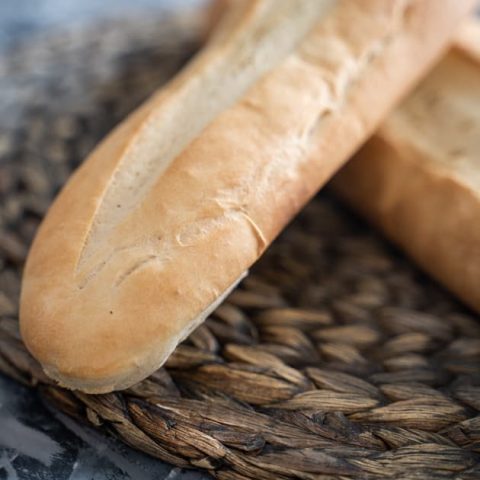
Parbaked Baguette Recipe
Parbaking isn't just for storebought bread. If you want crusty fresh from the oven bread without waiting, try parbaking yourself. This easy recipe will show you how!
Ingredients
- 1 1/2 cups warm 105-115 degrees water, divided
- 1 1/2 tablespoons active dry yeast
- 2 teaspoons sugar
- 3 cups all-purpose or bread flour
- 2 teaspoons kosher salt
Instructions
- In the bowl of a stand mixer or a bosch mixer combine 1/2 C of the water, the yeast, and sugar. Stir to combine. Let stand for 5 minutes until bubbly or foamy.
- In a separate bowl, combine the flour and salt. Add to the mixer. Mix, and gradually add the rest of the water until the dough forms a smooth ball that is not too sticky to handle (if dough is too sticky add more flour 1/4 c at a time)
- Knead in mixer for 3-5 minutes until smooth and elastic.
- Cut the dough in half and shape into baguettes. Grease a baguette pan (or a regular half sheet pan) and place loafes in the pan. Make a shallow cut down the middle of the loaves lengthwise with a very sharp knife. Cover with a dish towel and let rise in a warm place for about 30 minutes (until doubled).
- While dough is rising, preheat the oven to 400 degrees F. Place a shallow pan of very hot water on the bottom shelf of the oven to create steam.
- When the baguettes have risen, bake for 10 minutes. Remove from oven and cool. When cool wrap in plastic wrap or a baguette bag and freeze.
- When ready to eat remove from freezer. Bake from frozen at 425 degrees F for 10 minutes. Crust should brown.
- If you want to enjoy without parbaking, bake for 13-15 minutes at 450 degrees F until nicely browned and hollow-sounding when tapped.
Nutrition Information:
Yield: 14 Serving Size: 2 slicesAmount Per Serving: Calories: 112Total Fat: 1gSaturated Fat: 0gTrans Fat: 0gUnsaturated Fat: 0gCholesterol: 0mgSodium: 259mgCarbohydrates: 22gFiber: 1gSugar: 1gProtein: 4g
Nutrition information is an estimate only and may not be accurate
Resources:


This is so helpful!! I love baking fresh bread, but it takes all day. I can’t afford to do this on holidays like Thanksgiving, so thank you for your instructions! Could you also post directions on how to brown it before serving? Do you bake it from frozen? What temp and how long?
Thanks for the question, I prefer to thaw before baking especially with larger loaves (you could probably get away with baking from frozen with rolls or something smaller). Then bake at 375 just until browned to your liking. Again, it will depend on the product. A larger loaf might take 10 minutes, where rolls will likely be done in 5-7. Hope this helps!
Thank you!!! I’ve got my oven preheating right now to do this exact method. I’ve use these additional instructions next week on Thanksgiving. 🙂
I am a little confused. You can bake a baguette without defrosting but regular bread should be thawed? Is there a frozen-state weight I could use to determine if it should be thawed first?
Yes, the regular (sandwich) loaf is much thicker and denser so if it isn’t thawed the outside tends to get too dark on the outside while still being frozen in the middle. I don’t think it would be weight as much as how far it is to the middle of the loaf. A round or sandwich loaf should probably be thawed but a long and thin loaf like a baguette, or smaller items like rolls could be baked from frozen.